
Open Graph Images: Automatically Generate OG Images From Post Content
- Planned: A Fun and Productive Techstack to Build a Developer Blog
- Integrate MDX with a single tool and less boilerplate. Manage content with type-safe data and helper functions.
- Planned: Add Interactive React Components to Static Markdown Content
- Planned: Styling a Developer Blog with Tailwind CSS
- Planned: Creating Custom Rehype Markdown Plugins to Extend Your Blog
- Build-Time Syntax Highlighting: Zero Client-Side JS, Support for 100+ Languages and Any VSCode Theme
- Open Graph Images: Automatically Generate OG Images From Post Content
- Planned: Simple Post Metrics with useSWR and Prisma
- Planned: Light and Dark Mode with Next Themes
- Planned: Migrate to Server Components
An Open Graph (OG) image is the image social networks (such as Twitter and Facebook) pull from your website to create a preview when someone shares a link to your website.
Regardless of the effectiveness of the tweet or the quality of the actual linked content, an OG image is usually the first thing people notice about a shared post on social media.
In theory, a better OG image should increase how often people click through to your website and re-share the original shared post.
%252520Images%2Cco_rgb%3Affe4e6%2Cc_fit%2Cw_1400%2Ch_240%2Ffl_layer_apply%2Cg_south_west%2Cx_100%2Cy_180%2Fl_text%3AKarla_48%3Adelba.dev%252520%2525C2%2525B7%2525204%252520Jul%252520%2525C2%2525B7%252520%252523next%252520%2525C2%2525B7%252520%252523cloudinary%2Cco_rgb%3Affe4e680%2Cc_fit%2Cw_1400%2Ffl_layer_apply%2Cg_south_west%2Cx_100%2Cy_100%2Fl_twitter_name%3Adelba_oliveira%2Fc_thumb%2Cg_face%2Cr_max%2Cw_380%2Ch_380%2Cq_100%2Ffl_layer_apply%2Cw_140%2Cg_north_west%2Cx_100%2Cy_100%2Fgrain-gradient.png&w=3840&q=75)
The OG image we will be creating and how it could look once shared on social media.
Problem
- Manually creating a custom OG image for each post takes time and energy away from writing posts.
- Automating OG image generation can be difficult to implement or costs money to use a service.
Solution
Use Cloudinary's generous free tier and flexible API to automatically generate a branded OG image for your blog posts.
- Powerful URL-based API — No custom infra needed, pass a URL and get a generated image.
- Dynamic — Use dynamic post details such as a title and publish date to generate the final image.
- Flexible design — Render multiple text or image layers on top of each other.
- Custom transformations — Manipulate a layer's position, size, crop, color, opacity, etc.
- Fetch images from external sources — Use a remote image's URL to fetch, embed and transform it into your composition.
- Rich typography options — Use custom fonts (including Google fonts), color, letter spacing, etc to match your website's brand.
What is Cloudinary?
Cloudinary is primarily an image hosting service and CDN. They also provide a powerful REST image manipulation and generation API. Think of it as a simplified URL-based Figma or Photoshop: you provide arguments as URL paths and it generates, caches, and returns an image file.
For example, the image on the left is generated with the following URL:
URL to generate the image. It may seem a bit complex at first but we will break it down below.
Choose your journey
Follow along the step-by-step walkthrough or jump straight to the complete code at the bottom of the post.
Base Image
- Upload an image to your Cloudinary account that will be used as the base layer for the generated image.
- Create a utility function that returns a URL string of the composed transformations. For the sake of readability, we use an array of transformations that we
join()before returning.
const createOgImage = () => {
  return (
    [
      // prefix: <domain/yourCloudinaryId/file_type/source_type>
      `https://res.cloudinary.com/<cloudinaryId>/image/upload`,
      // transform composed image: width, height, quality
      `w_1600,h_836,q_100`,
      // -------------------------
      // WE WILL PLACE LAYERS HERE
      // -------------------------
      // background image: <cloudinary_public_id>
      `grain-gradient.png`,
    ]
      // join parameters with a slash to form a valid URL
      // [a, b, c] => "a/b/c"
      .join("/")
  )
}
The path we send to Cloudinary must form a valid URL. Arguments are
separated by commas: w_1600,h_836,q_100. Transformation layers can be
chained and are separated by slashes: w_1600,h_836,q_100/grain.png
- Width and Height (Line 7) — Set the dimensions and ratio of the generated image to something appropriate for social networks. The base image you uploaded will be scaled to match these dimensions. You can use the crop mode to decide what kind of scaling will be applied.
- Quality (Line 7) — Cloudinary significantly reduces image file sizes by automatically compressing images. This is great for adding images to your website. But something we want to avoid for an OG image because we don't want to double compress the image (social networks apply their own compression). We can override the default setting using the quality option.
- Background Image (Line 12) — The public id of the image we uploaded to Cloudinary.
Overlays
Cloudinary allows you to place text and image layers that can be individually transformed and positioned on top of a base image.
Overlays consist of two components the l_ layer that starts the overlay definition and includes layer transformations and an fl_layer_apply flag that closes the definition and includes placement qualifiers.
l_<public_id>/<transformations>/fl_layer_apply,<placement qualifiers>
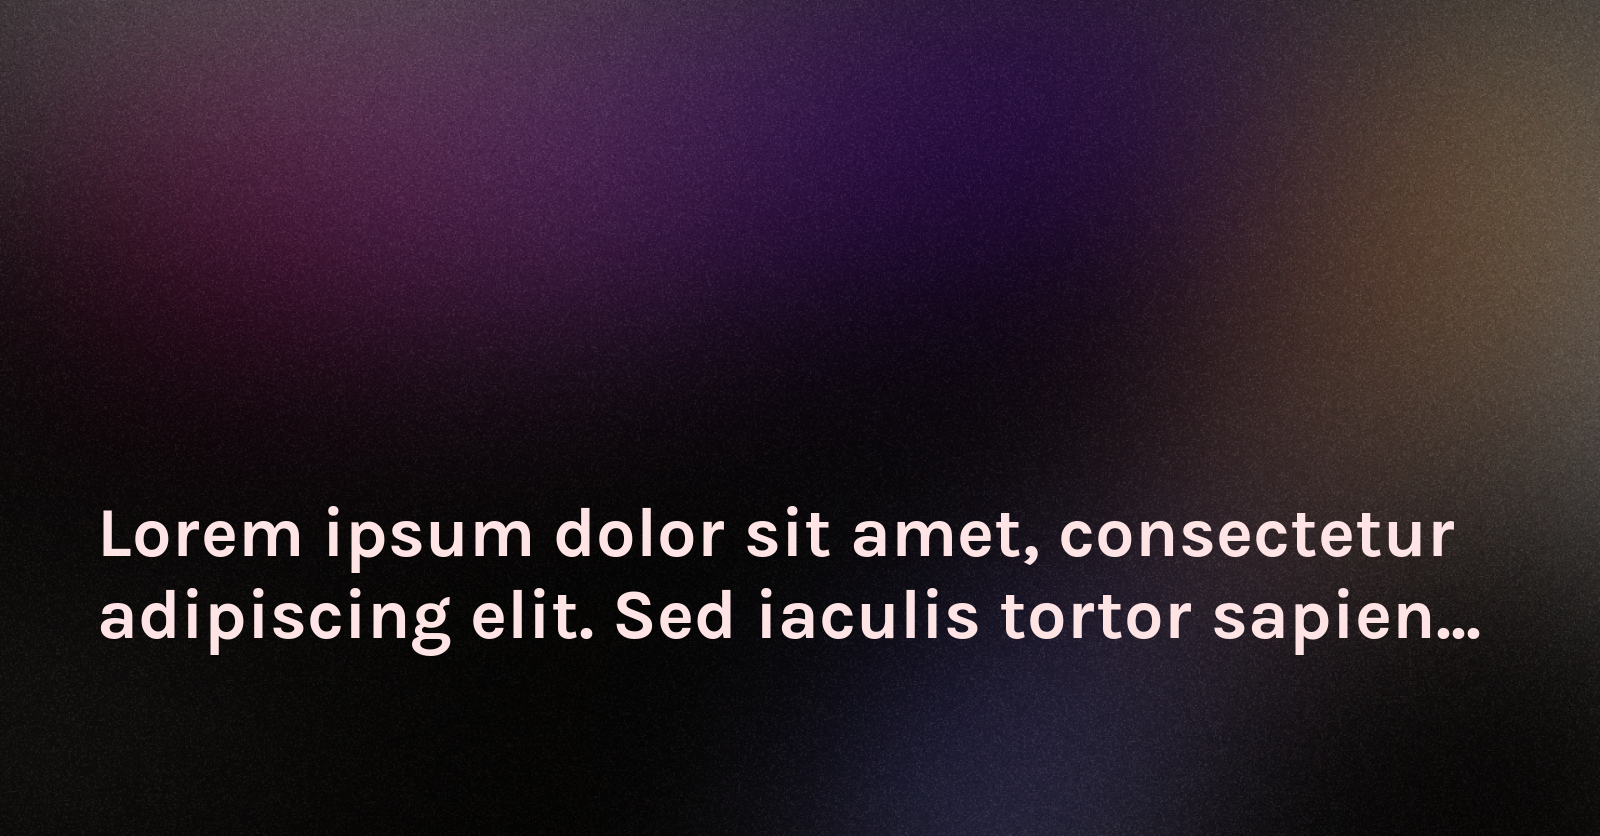
Text layer
const e = (str: string) => encodeURIComponent(encodeURIComponent(str))
const createOgImage = () => {
return [
`https://res.cloudinary.com/<cloudinaryId>/image/upload`,
`w_1600,h_836,q_100`,
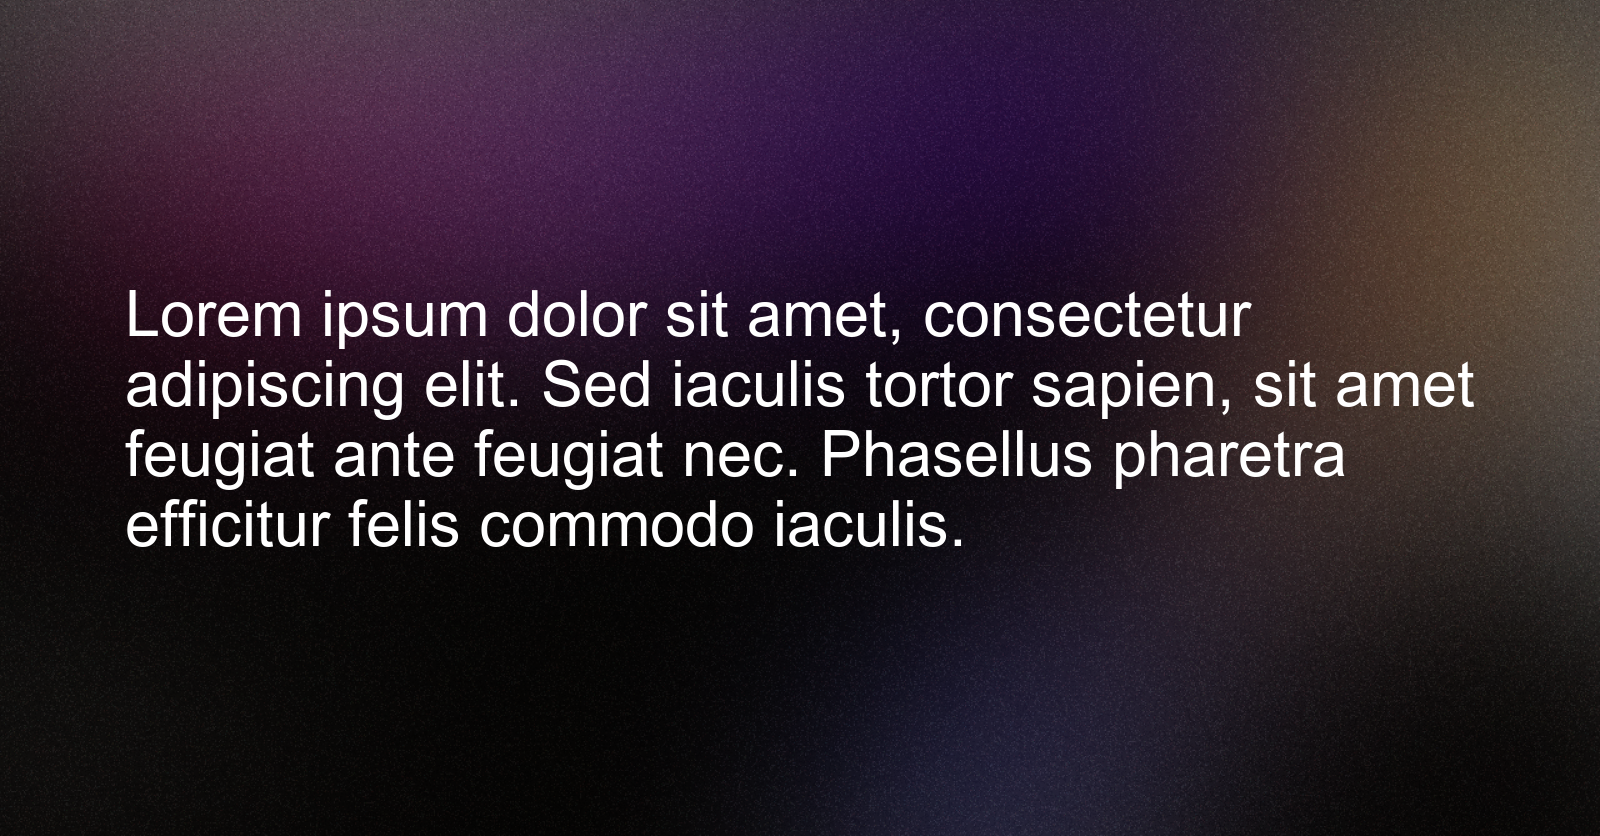
`l_text:Arial_100:${e(
"Lorem ipsum dolor sit amet, consectetur adipiscing elit.",
)}`,
`grain-gradient.png`,
].join("/")
}- Create a new text layer using
l_textand<font family>_<font size> - Create and use a utility function to escape the dynamic text. Any text we want to render needs to be double escaped because it might contain characters that are not URL safe or characters that have special significance (such as commas) in Cloudinary's API.
Text wrapping
By default, if a layer (image or text) has a larger width or height than the base image, the delivered image canvas is resized to display the entire layer.
const createOgImage = () => {
  return [
    // ...
    `l_text:Arial_100:${e("...")},c_fit,w_1400`,
    // ...
  ].join("/")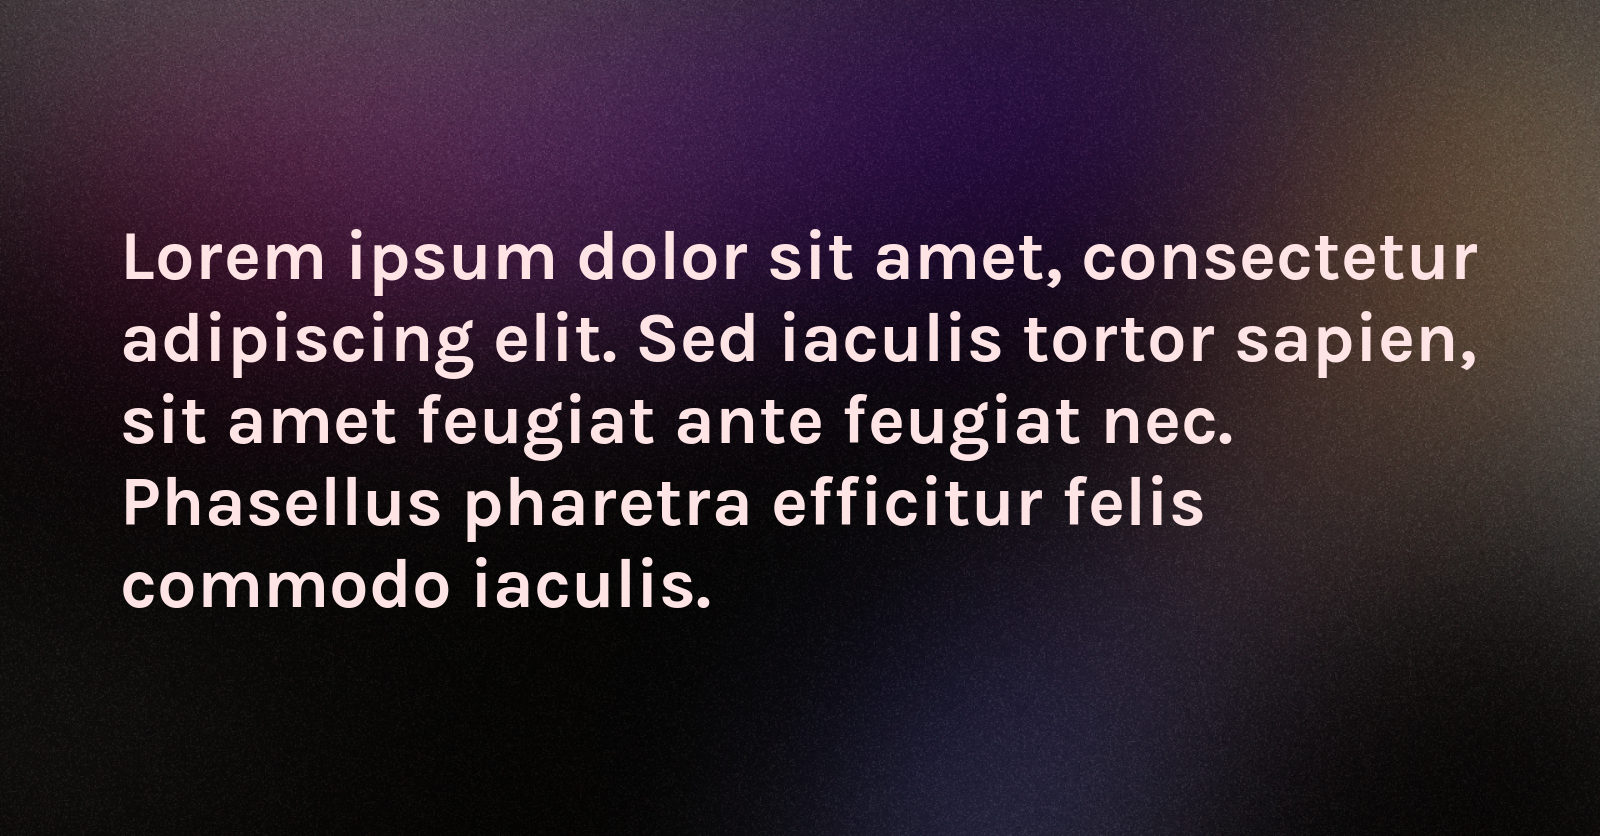
}- Limit the size of the text layer so it fits inside the image using the width parameter
w_. - Force text to wrap to multiple lines rather than scaling to the width we just set using the
fitcrop mode. - Reduce the font size to better fit the background image.
Text styling
You can make your OG image fit your brand by customizing the font and color. One powerful Cloudinary feature is that you can use any typeface listed on Google fonts. In this case, I am using the same font and color as my website.
const createOgImage = () => {
  return [
    // ...
    `l_text:Karla_72_bold:${e("...")},co_rgb:ffe4e6,c_fit,w_1400`,
    // ...
  ].join("/")
}- Customize the font using
l_text(docs) to supply some font styling options. For some reason, the API docs don't discuss that you can use a Google Fonts id here. - Customize the text color using the
co_rgb(docs) to change the color of the layer.
Positioning layers
const createOgImage = () => {
  return [
    // ...
    `l_text:Karla_72_bold:${e("...")},co_rgb:ffe4e6,c_fit,w_1400,h_240`,
    `fl_layer_apply,g_south_west,x_100,y_180`,
    // ...
  ].join("/")
}- Use
h_to limit the text layer to a certain height. This will automatically truncate longer titles that would otherwise overflow the height. - Add a
fl_layer_apply(docs) transformation to position thel_textlayer. - Use the
g_(gravity) option to position the layer. Follows the point of a compass, north for top, south for bottom, etc. - Use
xandycoordinates to vertically and horizontally offset the layer from the point of gravity.
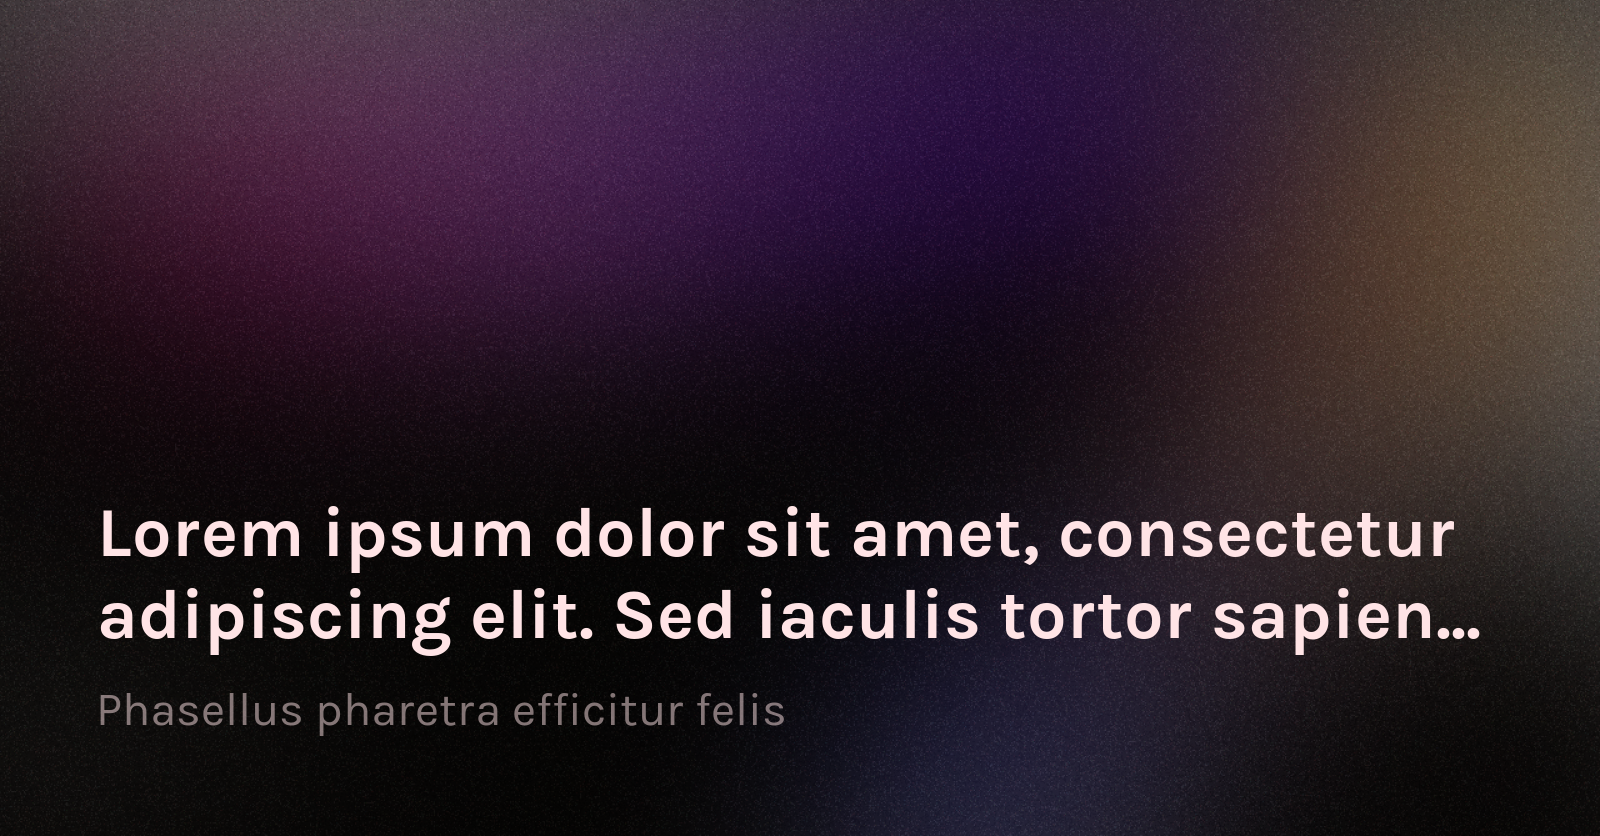
Multiple layers
You can use what we've learned to create a new text layer to house post details such as the author, publish date, and category.
const createOgImage = () => {
return [
// ...
`l_text:Karla_72_bold:${e("...")},co_rgb:ffe4e6,c_fit,w_1400,h_240`,
`fl_layer_apply,g_south_west,x_100,y_180`,
`l_text:Karla_48:${e("...")},co_rgb:ffe4e680,c_fit,w_1400`,
`fl_layer_apply,g_south_west,x_100,y_100`,
// ...
].join("/")
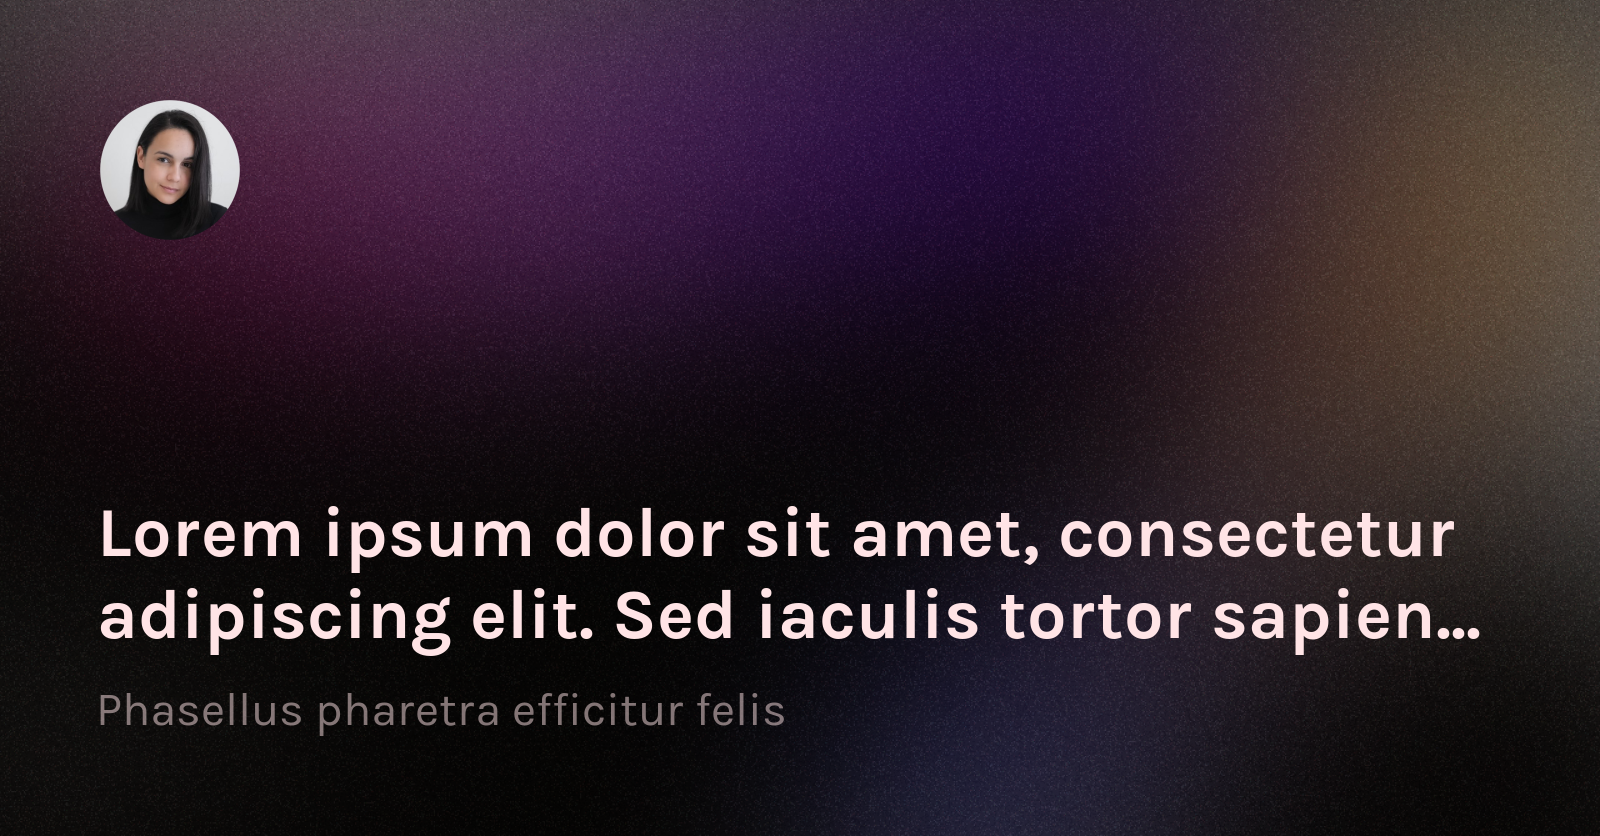
}Image layers
You can use image layers to embed other images into your composition. These images can be fetched from your Cloudinary media library, an external URL, or even a user's profile image on a social network.
Profile image
We'll use the latter to add a headshot to our OG image that dynamically syncs with a user's Twitter profile image. Changing the profile image on Twitter will eventually (after caches expire) update the headshots of all generated OG images.
const createOgImage = () => {
  return [
    // ...
    // dynamically fetched from my Twitter profile
    `l_twitter_name:delba_oliveira`,
    // Transformations
    `c_thumb,g_face,r_max,w_380,h_380,q_100`,
    // Positioning
    `fl_layer_apply,w_140,g_north_west,x_100,y_100`,
    // ...
  ].join("/")
}- Use
l_twitter_nameto fetch a user's 400px by 400px Twitter profile image. - Use
c_thumb,g_face,w_380, andh_380to slightly crop the image using the thumbnail preset and a human face as the ideal focal point. - Use
r_maxto create a maximum border radius (essentially cropping the image to a circle). - Use previous knowledge to position the image in the top left.
Closing thoughts
There is a lot more you can do with Cloudinary's URL-based API. Hopefully, this is a good starting point for you to create your own unique OG images that stand out and lead to more people viewing your content.
Final code
export const createOgImage = ({
  title,
  meta,
}: {
  title: string
  meta: string
}) =>
  [
    // ACCOUNT PREFIX
    // Add your own Cloudinary account ID.
    `https://res.cloudinary.com/cloudinaryId/image/upload`,
    // Composed Image Transformations
    `w_1600,h_836,q_100`,

    // TITLE
    // Karla google font in light rose
    `l_text:Karla_72_bold:${e(title)},co_rgb:ffe4e6,c_fit,w_1400,h_240`,
    // Positioning
    `fl_layer_apply,g_south_west,x_100,y_180`,

    // META
    // Karla, but smaller
    `l_text:Karla_48:${e(meta)},co_rgb:ffe4e680,c_fit,w_1400`,
    // Positioning
    `fl_layer_apply,g_south_west,x_100,y_100`,

    // PROFILE IMAGE
    // dynamically fetched from my twitter profile
    `l_twitter_name:delba_oliveira`,
    // Transformations
    `c_thumb,g_face,r_max,w_380,h_380,q_100`,
    // Positioning
    `fl_layer_apply,w_140,g_north_west,x_100,y_100`,

    // BG
    `grain-gradient.png`,

].join("/")

// double escape for commas and slashes
const e = (str: string) => encodeURIComponent(encodeURIComponent(str))
import { createOgImage } from "@/lib/createOrgImage"
import Head from "next/head"

export default function Page({ post }) {
  const ogImage = createOgImage({
    title: post.title,
    meta: ["delba.dev", post.publishedAt, ...post.tags].join(" · "),
  })

  return (
    <>
      <Head>
        <meta property="og:image" content={ogImage} />
        <meta property="og:image:width" content="1600" />
        <meta property="og:image:height" content="836" />
        <meta property="og:image:alt" content={post.title} />
        <meta name="twitter:card" content="summary_large_image" />
      </Head>

      {/* ... */}
    </>
  )
}- Planned: A Fun and Productive Techstack to Build a Developer Blog
- Integrate MDX with a single tool and less boilerplate. Manage content with type-safe data and helper functions.
- Planned: Add Interactive React Components to Static Markdown Content
- Planned: Styling a Developer Blog with Tailwind CSS
- Planned: Creating Custom Rehype Markdown Plugins to Extend Your Blog
- Build-Time Syntax Highlighting: Zero Client-Side JS, Support for 100+ Languages and Any VSCode Theme
- Open Graph Images: Automatically Generate OG Images From Post Content
- Planned: Simple Post Metrics with useSWR and Prisma
- Planned: Light and Dark Mode with Next Themes
- Planned: Migrate to Server Components